You uploaded the Realm Crafter Server to your remote host and successfully ran and unlocked the Realm Crafter Server. Now you are ready to open up firewalls so clients can connect to your Realm Crafter world.
Configure The Game Client And Firewalls
In order for the Game Client to be able to connect to the Game Server, we need to open firewall access on both the Azure service and the virtual Windows Server. We also have to set the Game Client to connect to the proper IP address and port.
Configure The Realm Crafter Client To Connect To The Game Server
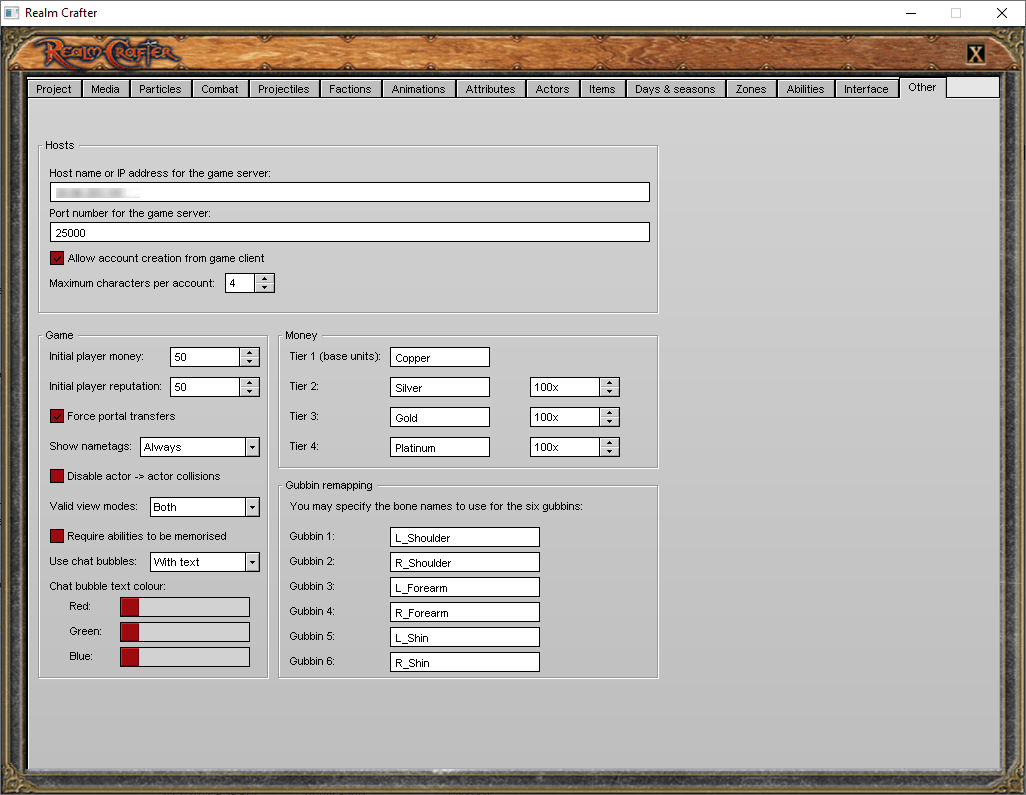
- Open the GUE.
- Go to the Other Tab.
- Enter the public IP address for your remote host (the same number you use to connect by remote desktop).
- Close the GUE to save changes.
Next, we need to adjust the firewall settings on the Azure service and the remote server.
Open Up The Firewall On Azure
The Realm Crafter Game Client has been set to look for the Game Server at a specific IP address and a specific port.
We need to open up the firewalls to allow these connections.
Open Up The Port For TCP Connections
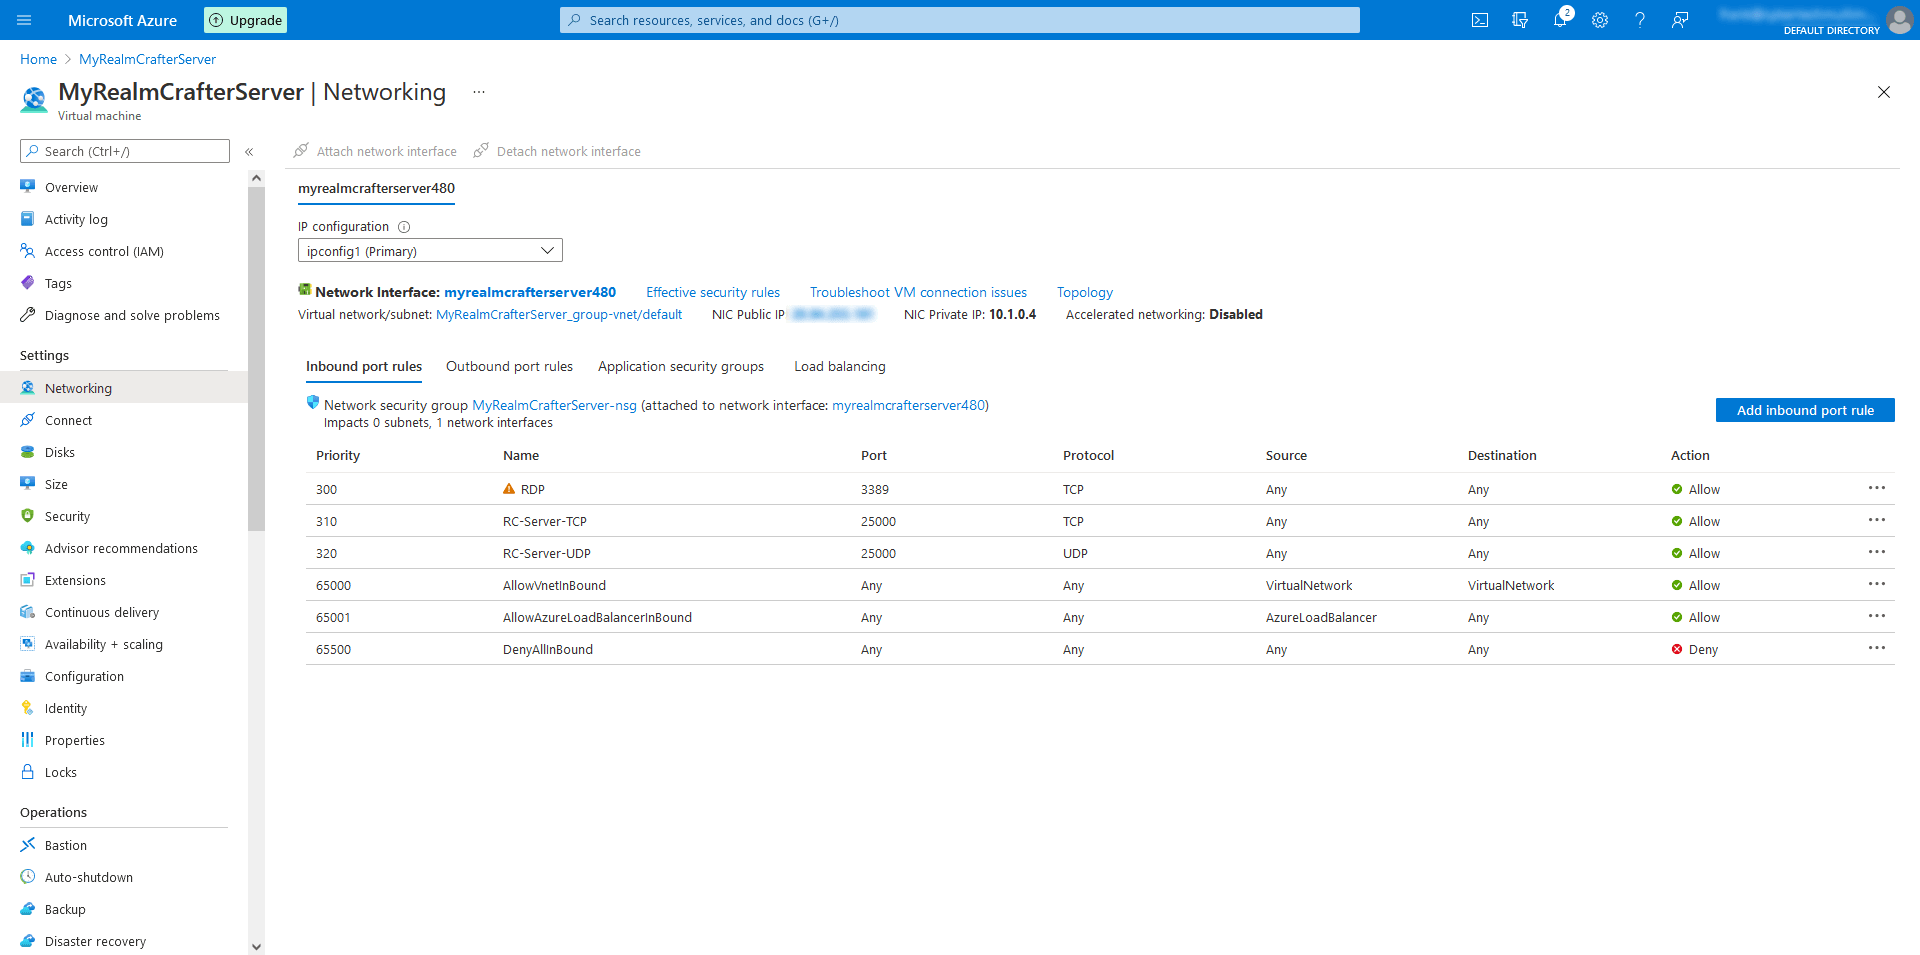
From the Azure Service screen:
- Choose Virtual Machines.
- Select your new virtual server.
In the Settings Section:
- Choose Networking.
- Click Add Inbound Port Rule.
- Keep Source default.
- Keep Source Port default.
- Keep Destination default.
- Set Service to Custom.
- Set Destination Port Range to 25000 (or whatever port you have set for RC - the default is 25000).
- Set the Protocol to TCP.
- Keep Action default.
- Keep Priority default.
- Change the name to RC-Server-TCP
- click Add.
Next, set up another rule to allow UDP connections.
Open Up The Port For UDP Connections
Repeat the process above to add another inbound port rule, keeping all the settings as before but choosing UDP instead of TCP.
In the Settings Section:
- Choose Networking.
- Click Add Inbound Port Rule.
- Keep Source default.
- Keep Source Port default.
- Keep Destination default.
- Set Service to Custom.
- Set Destination Port Range to 25000 (or whatever port you have set for RC - the default is 25000).
- Set the Protocol to UDP.
- Keep Action default.
- Keep Priority default.
- Change the name to RC-Server-UDP
- click Add.
We are now open to outside connections on our Realm Crafter Server port.
Open Up The Firewall On Remote Windows Server
The next step is to set up the firewall on the remote Windows Server to match.
Log in to the virtual server with Remote Desktop.
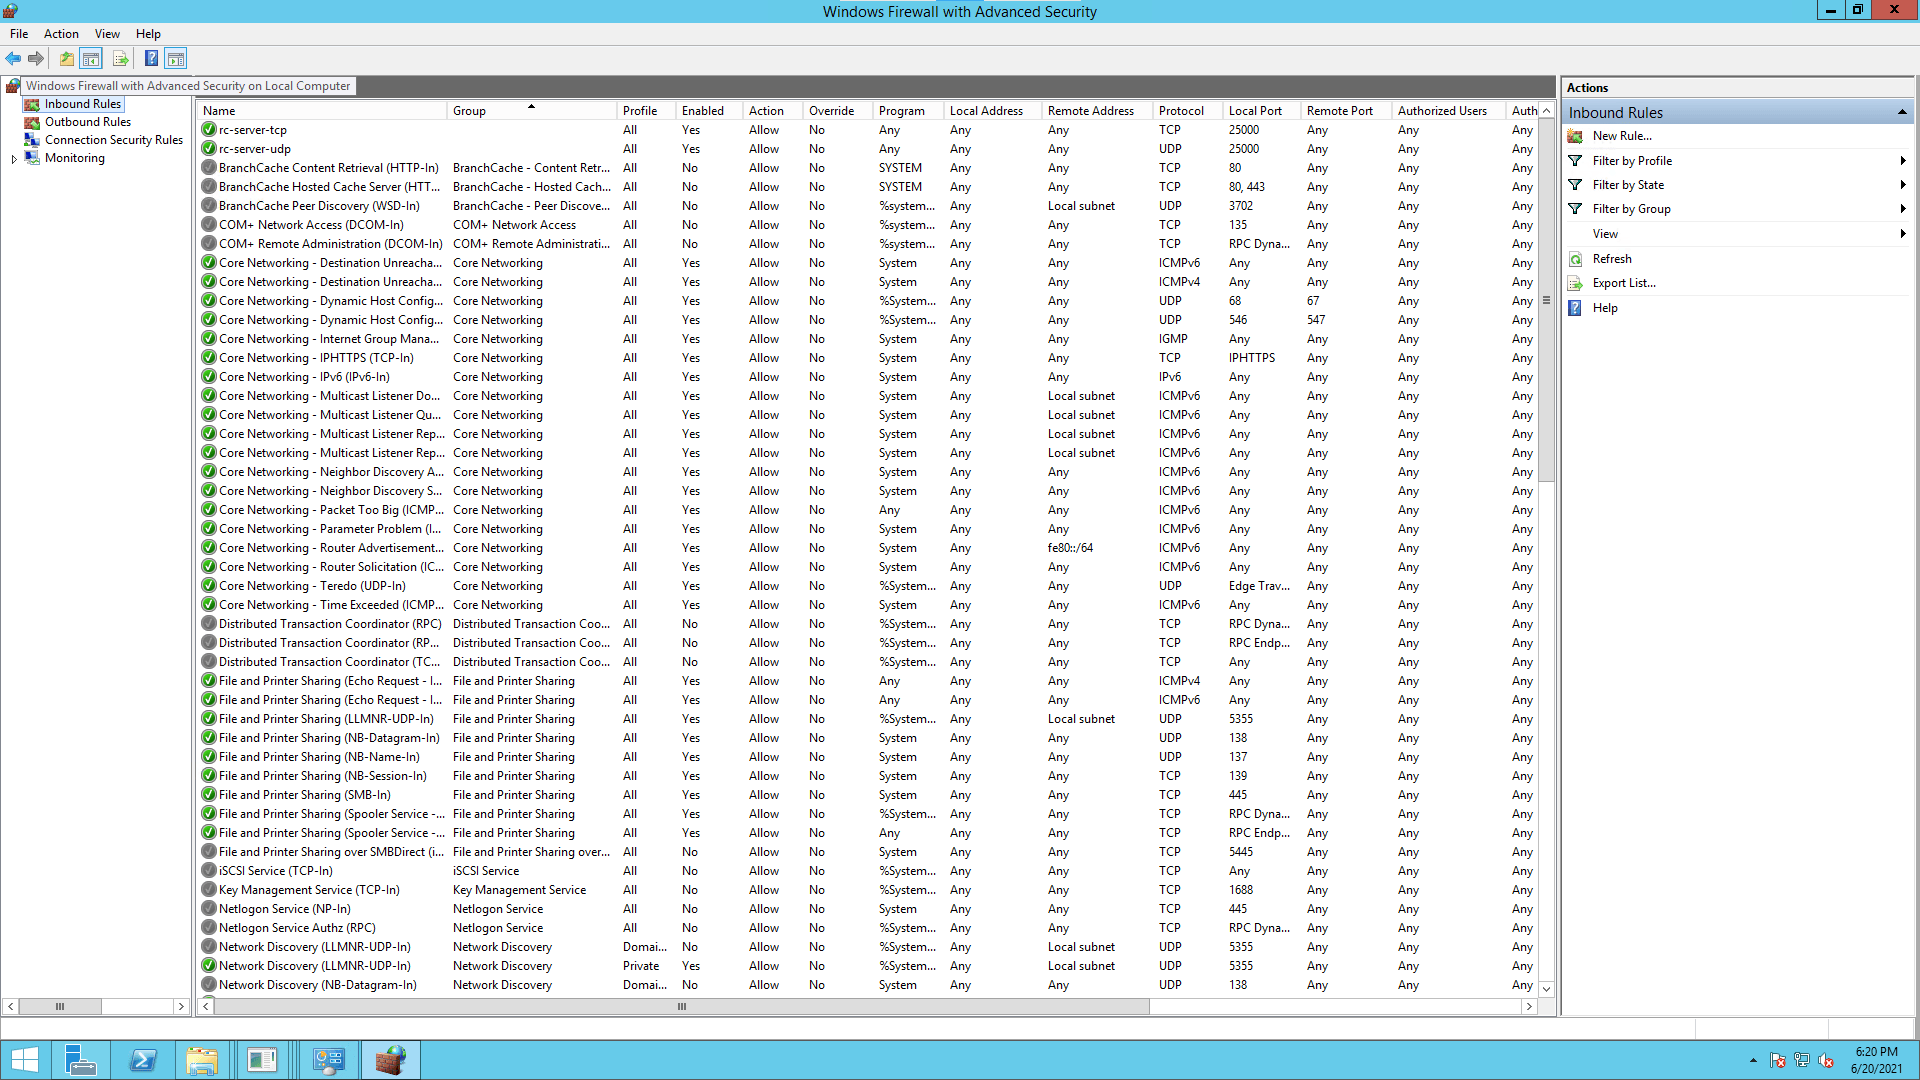
Click Start> Administrative Tools> Windows Firewall With Advanced Security
On the left side click inbound rules.
Open Up The Port For TCP Connections
On the right side click New Rule.
In the New Inbound Rule Wizard under What type of rule would you like to create:
- Choose port> next
- Choose TCP
- Set Specific local ports to 25000 (the RC default, otherwise use your own port number)> next
- Under What action should be taken:
- Choose Allow the connection> next
- Under When does the rule apply - just keep the defaults> next
- Change the name to RC-Server-TCP
- Click Finish
Next, repeat the process above for the UDP port.
Open Up The Port For UDP Connections
On the right side click New Rule.
In the New Inbound Rule Wizard under What type of rule would you like to create:
- Choose port> next
- Choose UDP
- Set Specific local ports to 25000 (the RC default, otherwise use your own port number)> next
- Under What action should be taken:
- Choose Allow the connection> next
- Under When does the rule apply - just keep the defaults> next
- Change the name to RC-Server-UDP
- Click Finish
That's it!
Congratulations, you have configured the Game Client, set up the Azure firewall, and set up the Windows Server firewall.
You are now ready to run the Realm Crafter Server on your virtual Azure host and connect to it with your Realm Crafter Game Client.
Want To Make Your Own MMORPG?
You can make a game for friends and family. With a little extra work, maybe make it a commercial enterprise.
Grab A Free Copy Of Realm Crafter Here (MakeYourOwnRPG.com Store)
Your Turn. What Do You Do?
Were you able to configure the Realm Crafter Game Client and open the firewalls without any problems?
Tell me about it in the Comments Section. I'm interested in how I can improve this article.
E-mail Notification Opt-in
Do you want to receive email notifications when we add new game design content?
Sign up on our private mailing list.
YES! Notify me of new game design posts!