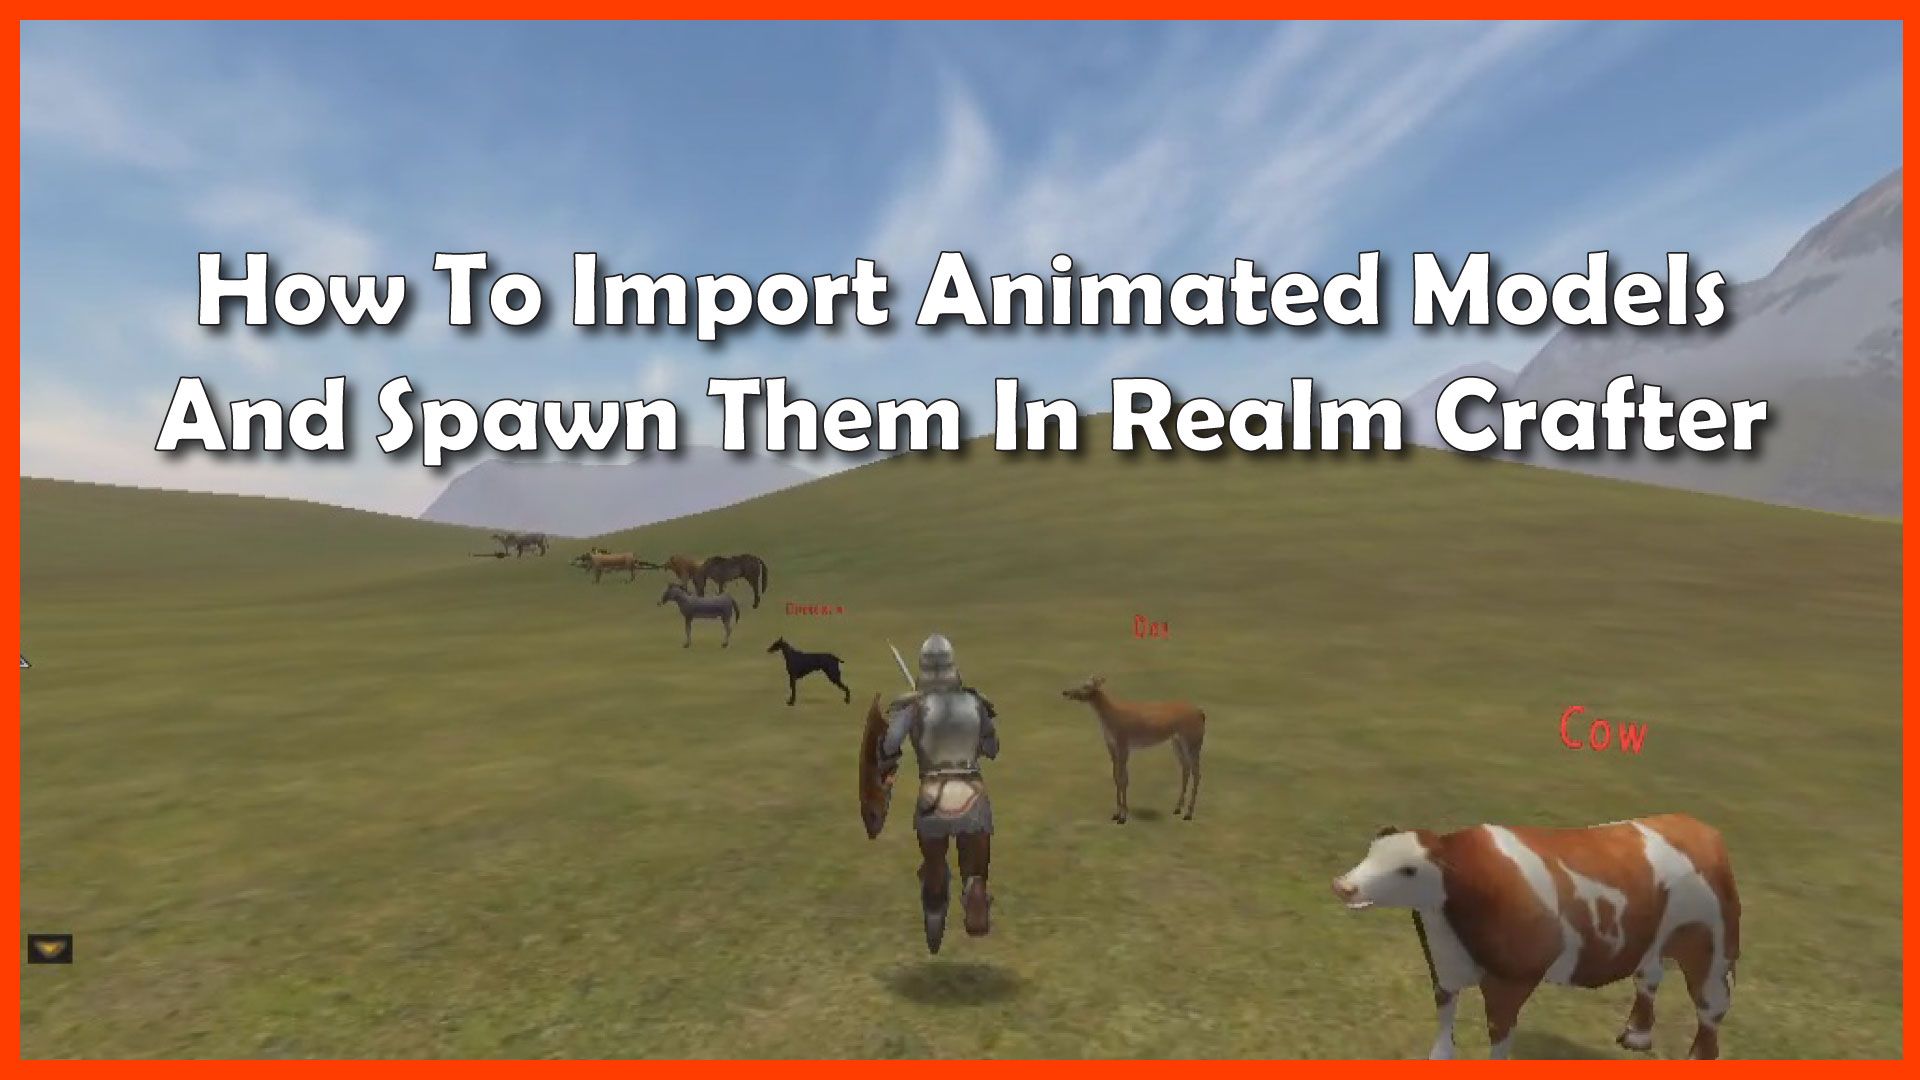
So, you’ve started a new Realm Crafter project and now you’re ready to start populating it with animals, NPCs, and monsters. You’ll need a way to import animated 3D models into Realm Crafter, assign them textures, set up their animation set, and spawn them in your zones.
Importing Animated Models And Spawning Them In Realm Crafter
Hello and welcome!
I’m Frank from makeyourownrpg.com, and in this video, I will show you how to import animated models into realm crafter and how to spawn them in a Zone.
By the end of this video, you’ll be placing animals, monsters, NPCs, and any other entities that require animation or interaction.
If you like this video give it a thumbs-up.
If you find this video is useful, subscribe and hit the alert bell, this will help other hobbyists find this video and you’ll receive notifications next time we post on this topic.
Of course, if you have any questions please feel free to post them in the comments section and I’ll do my best to answer them.
For more details on how to use Realm Crafter, check out my book, The Realm Crafter User’s Guide; there’s a link in the video description.
Now, let’s get started with importing our own animated 3D models into Realm Crafter.
First, we’ll import the mesh and texture.
Then we’ll set up the animation set.
After that, we’ll set up an actor.
And finally, we’ll spawn the actor in our Zone.
Let’s start by downloading some animated, rigged 3D models.
To use animated models in Realm Crafter, you MUST use blitz 3d format models otherwise known as b3d format. You can find these at various sources around the internet.
For this example, we will be using the free Animal Pack available at the makeyourownrpg.com store.
Now, let’s import the mesh and texture.
Open your Project folder and copy the Meshes and Textures folders from the Free Animals ZIP to your project’s Data folder.
Now, we need to tell Realm Crafter about the new meshes and textures.
Open the GUE and go to the Media Tab.
Select View 3D Meshes
Select Add New File
Choose Actors
Choose Animals but just click once – we want to import the entire Animals folder.
Set the file type to match the type of file you are importing.
In this case, we are importing Encrypted b3d.
Click open.
Under Mesh Options, select Mesh Is Animated.
When asked if you want to import ALL folders under this one, choose Yes.
Click OK and ALL the meshes in your Animals folder will be imported.
If you only want one animal imported, just select that animal from inside the Animals folder, instead of importing the folder itself.
Now that the meshes are loaded, let's import the textures.
Change the dropdown to View Textures
Add New File
Choose Actors
Choose Animals but just click the folder once so we can import the entire Animals folder.
Set the file type to match the kind of graphics files you are importing.
In this case, you can choose jpg.
Click Open.
For texture options, choose all that apply; in this case, we can go with the defaults.
When asked if you want to import ALL folders under this one, choose Yes.
Click OK and ALL the textures in that folder will be imported.
If you only want the texture of a specific animal imported, just select that animal from inside the Animals folder, instead of importing the folder itself.
Ok now that the meshes and textures have been loaded, we need to create an animation set.
Head over to the Animations Tab.
Click New Animation Set
Select New Set from the list of animations and change the name to match the animal you are setting up.
For this example, let’s choose Rat.
Realm Crafter will set up some default animation names. Try to match these as closely as possible to the animation names already set. Realm Crafter will be looking for animations that match THESE names for standard animations triggered by the game. You can add additional custom animations and trigger them through in-game scripts as well.
For instance, my plugin Basic Realm Crafter Emotes will trigger an animation of the same name as the emote if one is present.
If you don’t have an animation to match one of the animation names, just set both starting and ending frames to zero.
Don’t forget to Save Animation Sets frequently so you don’t lose your work.
Now that we matched up as many animations as possible, we are ready to spawn our new animal.
Keep in mind only Actor entities can be animated and interacted with in Realm Crafter, so let’s head over to the Actors Tab.
Instead of going through and setting up a new Actor, let’s just copy the existing player actor and change its details.
We’ll learn how to make new Actors from scratch in a future video.
For now, select the Human [Fighter] and choose Copy Actor.
You should now have a new actor called Human(copy)[Fighter]. Let’s make a rat.
Go to the Actor Description Tab and change the Actor Race to RAT.
Change the Actor Class to RAT.
Fill in a description.
We aren’t going to distinguish between male and female rats, so set Gender to No Gender.
Leave the home faction as Humans for now – we’ll cover factions in another video.
Now let’s go to the Actor General Tab and set the animation to Rat
Now go to the actor appearance tab and change Male Body Mesh to Rat.
Let’s assign it the rat texture.
Change the 1st Male Body texture to rat1.
Let’s set all the other textures and meshes for this actor to NONE.
Finally, we need to clear all the gubbins or our Rat will have a beard, a weapon, or some armor.
Set all 6 gubbins to None.
Check the Preview Tab to make sure the Rat looks the way you expect.
Save Actors
The last step is to spawn the rat in the Zone.
Go to the Zones tab.
Set the current zone to the one you want to spawn the Rat in. In this case, I’m choosing Main Island.
Now, you can spawn your Rat anywhere but for this example, let's find the Start Portal and spawn the Rat near there so we can find it easily.
When you are ready to place the actor, choose the Zones Waypoint Tab then right-click once to place the waypoint marker.
In the Waypoint Option Panel, Under Spawn This Actor, choose Rat.
You will notice the Waypoint marker has changed the size to scale to the default size of the model.
If you change the scale and position of the waypoint marker, you are also changing the scale and position of whatever you are spawning.
We need to move the waypoint marker up, otherwise, the rat will spawn under the map and fall forever.
With the waypoint marker selected, choose "Precise" and adjust the Y-axis to bring the marker slightly above the landscape.
Save Zone
Make a New Client and Server
That’s it. Exit the GUE.
Let’s see how it looks.
Launch the server and unlock it
Launch the client.
There’s a rat!
Well done!
Let’s recap:
We learned how to import our own animated blitz 3D model meshes and their textures.
We learned how to set up the custom animations associated with the mesh.
We learned how to create a new actor for our animated mesh.
And finally, we learned how to spawn that actor in the zone.
Don’t forget to check the video description for useful links, and go to MakeYourOwnRPG.com for more game design tips and tricks.
I’m Frank from MakeYourOwnRPG.com and if you enjoyed this video don’t forget to like and subscribe.
If you have any questions leave them in the comments, and I’ll do my best to answer.
Until next time… happy gaming!
If you want to support this channel, please consider purchasing the other animal packs. The models and textures are free, but there is a small service fee of about 10 cents for each model applied for decrypting and organizing the models into smaller, manageable packs.
Your Turn. What Do You Do?
Were you able to import your meshes and textures? Did you get a rat to spawn?
Tell me about it in the Comments Section. I'm interested in finding out if this tutorial helped anyone.
E-mail Notification Opt-in
Do you want to receive email notifications when we add new game design content?
Sign up on our private mailing list.
YES! Notify me of new game design posts!


